
Every wood floor is different, so we work to a set process rather than a fixed script. Here is what actually happens, from your first message to us clearing up on the last day.
How we work, step by step
Getting you a price
Send a photo by message or email and we can usually tell you straight away whether a floor needs sanding, repair or replacing, and give you a ballpark. For bigger jobs, or where the floor is in poor condition, we come out and look at it — free, and with no obligation. A written quote follows either way.
Repairs before anything else
Loose, split, squeaking or missing boards are fixed before a sander touches the floor. Sanding a loose board only gives you a smooth loose board. Where boards are missing we match the species and age as closely as we can, using reclaimed timber where that gives a better match than new.
Stain and colour samples on day one
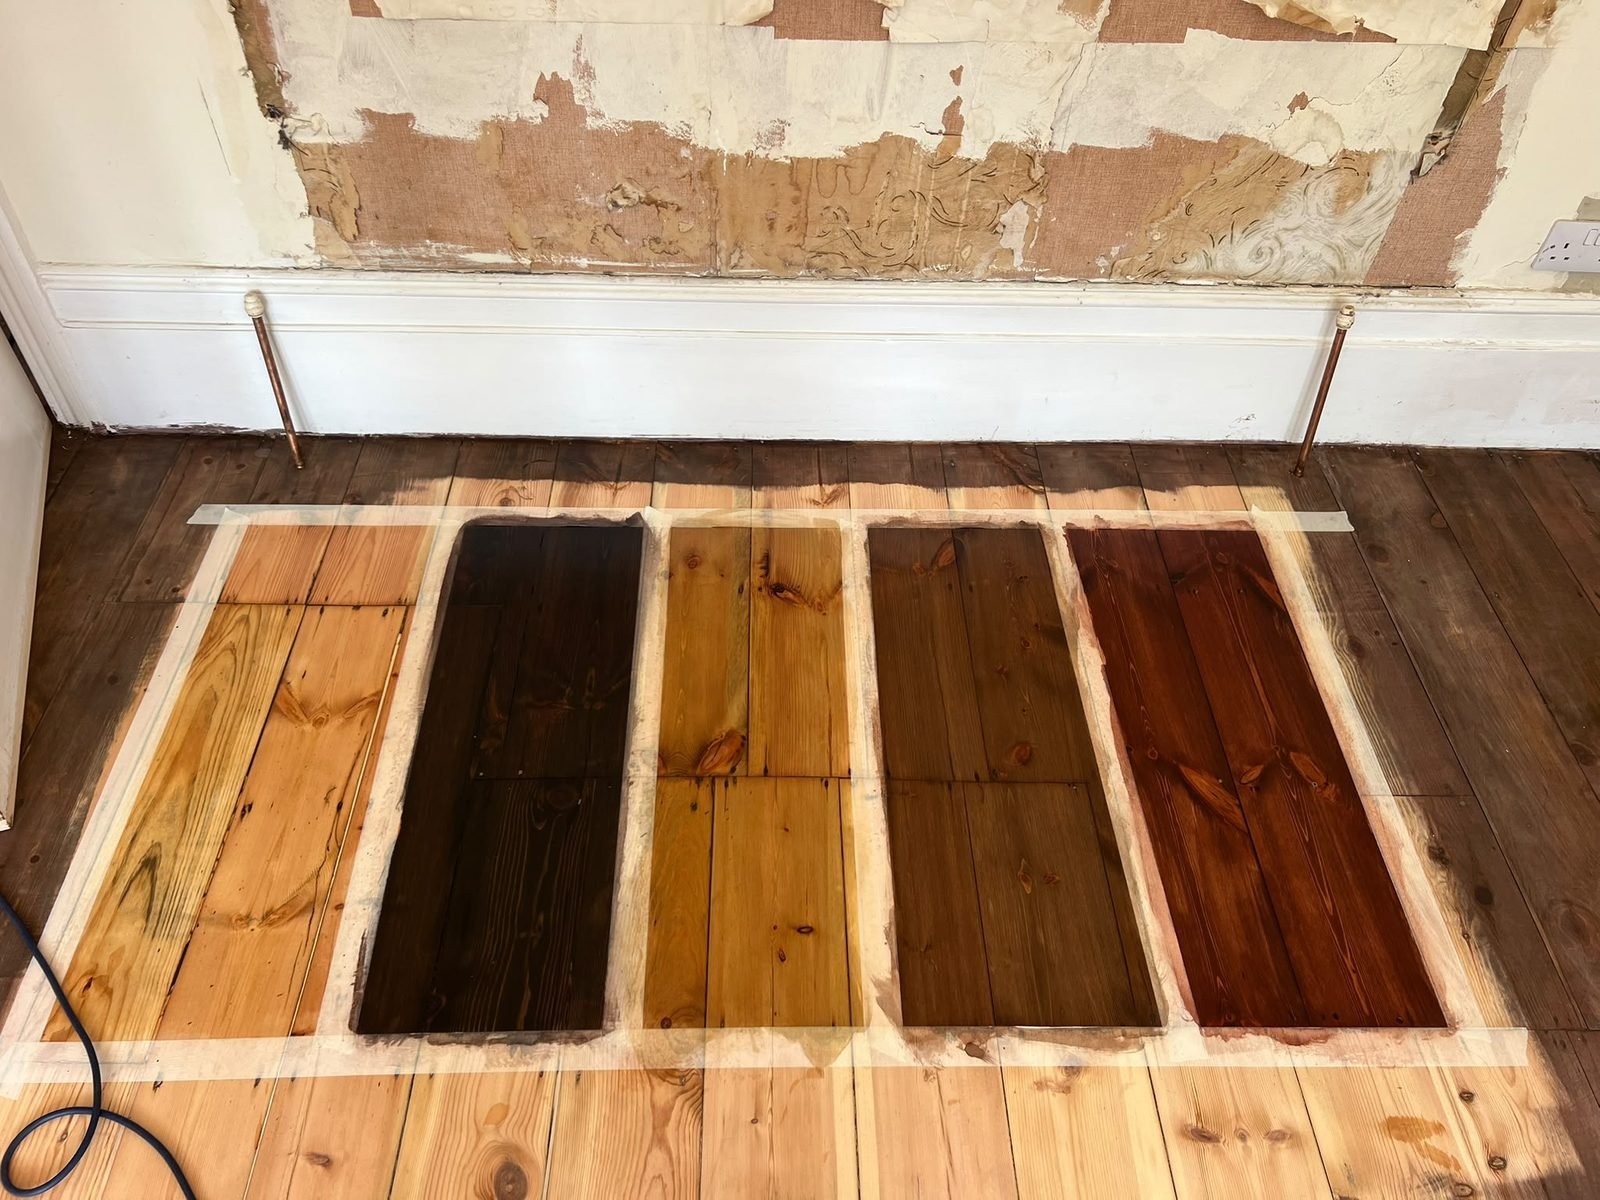
If you want the floor stained, we sand a small area and lay down samples on your own boards, in your own light — not from a brochure. Timber varies enormously, and a colour that looks right on oak can look completely different on ninety-year-old pine.
For a whitewashed or limed look we sample two coats of Bona white primer, which gives a cleaner, more even result on pine than a single heavy coat.

Gap filling, if you want it
Filling is optional and we will tell you honestly whether it is worth doing. Resin mixed with your own sanding dust suits hairline and moderate gaps. Wider gaps are better filled with pine slivers, cut and glued in so they move with the floor instead of cracking out of it.
The final sand
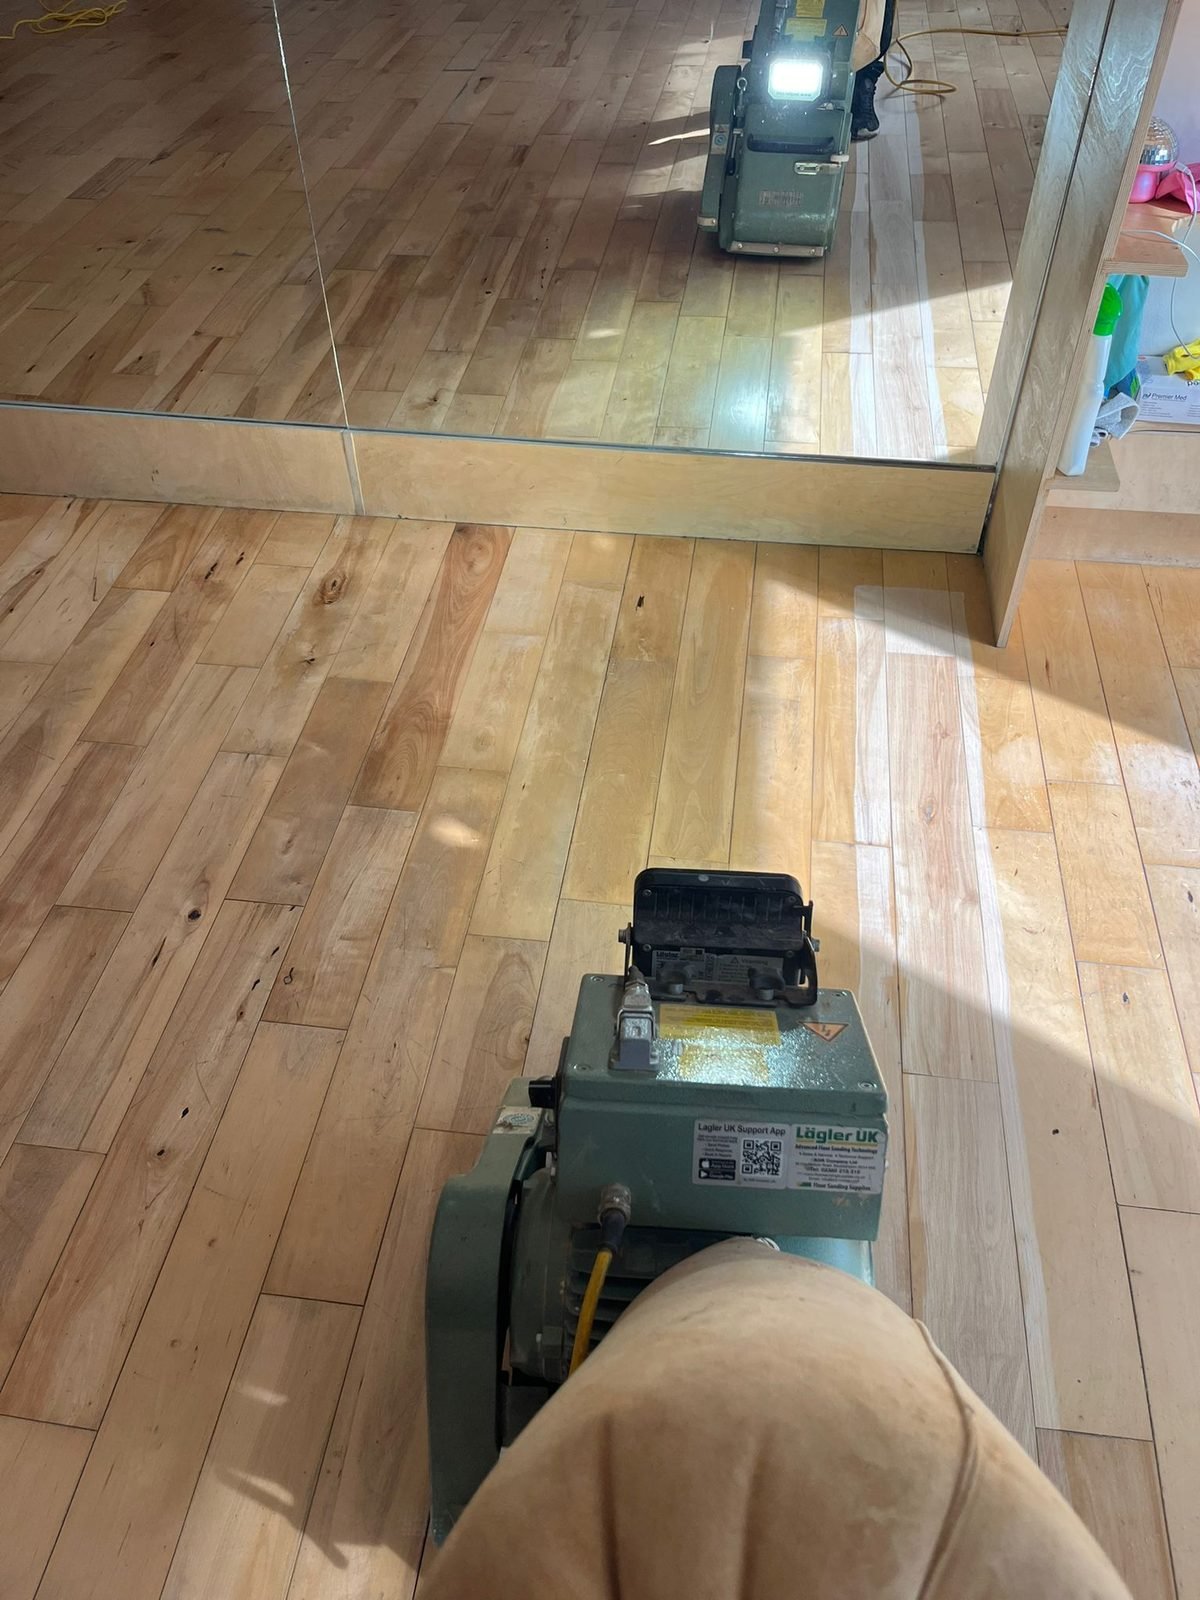
Progressively finer grits until the surface is even and closed, with continuous dust extraction at the machine. Edges and corners are finished by hand — that is the slow part, and it is where a rushed job shows.
Finishing
Hardwax oil, lacquer or oil, applied in two or three coats with proper drying time between them. We will recommend a finish based on how the room is actually used, not on what has the best margin.
Furniture and clearing up
We move furniture around the job as we go where that is needed — you do not have to empty the house. When we finish we take the rubbish away and leave the area clean. That is part of the price, not an extra.
If we are fitting a new floor
The process is much the same, with two differences at the start.
Help with what to order
If you are buying the materials yourself, we will tell you what to order and how much — including the wastage allowance people usually forget. Ordering short mid-job is the most common way a fitting week turns into two.
Subfloor first
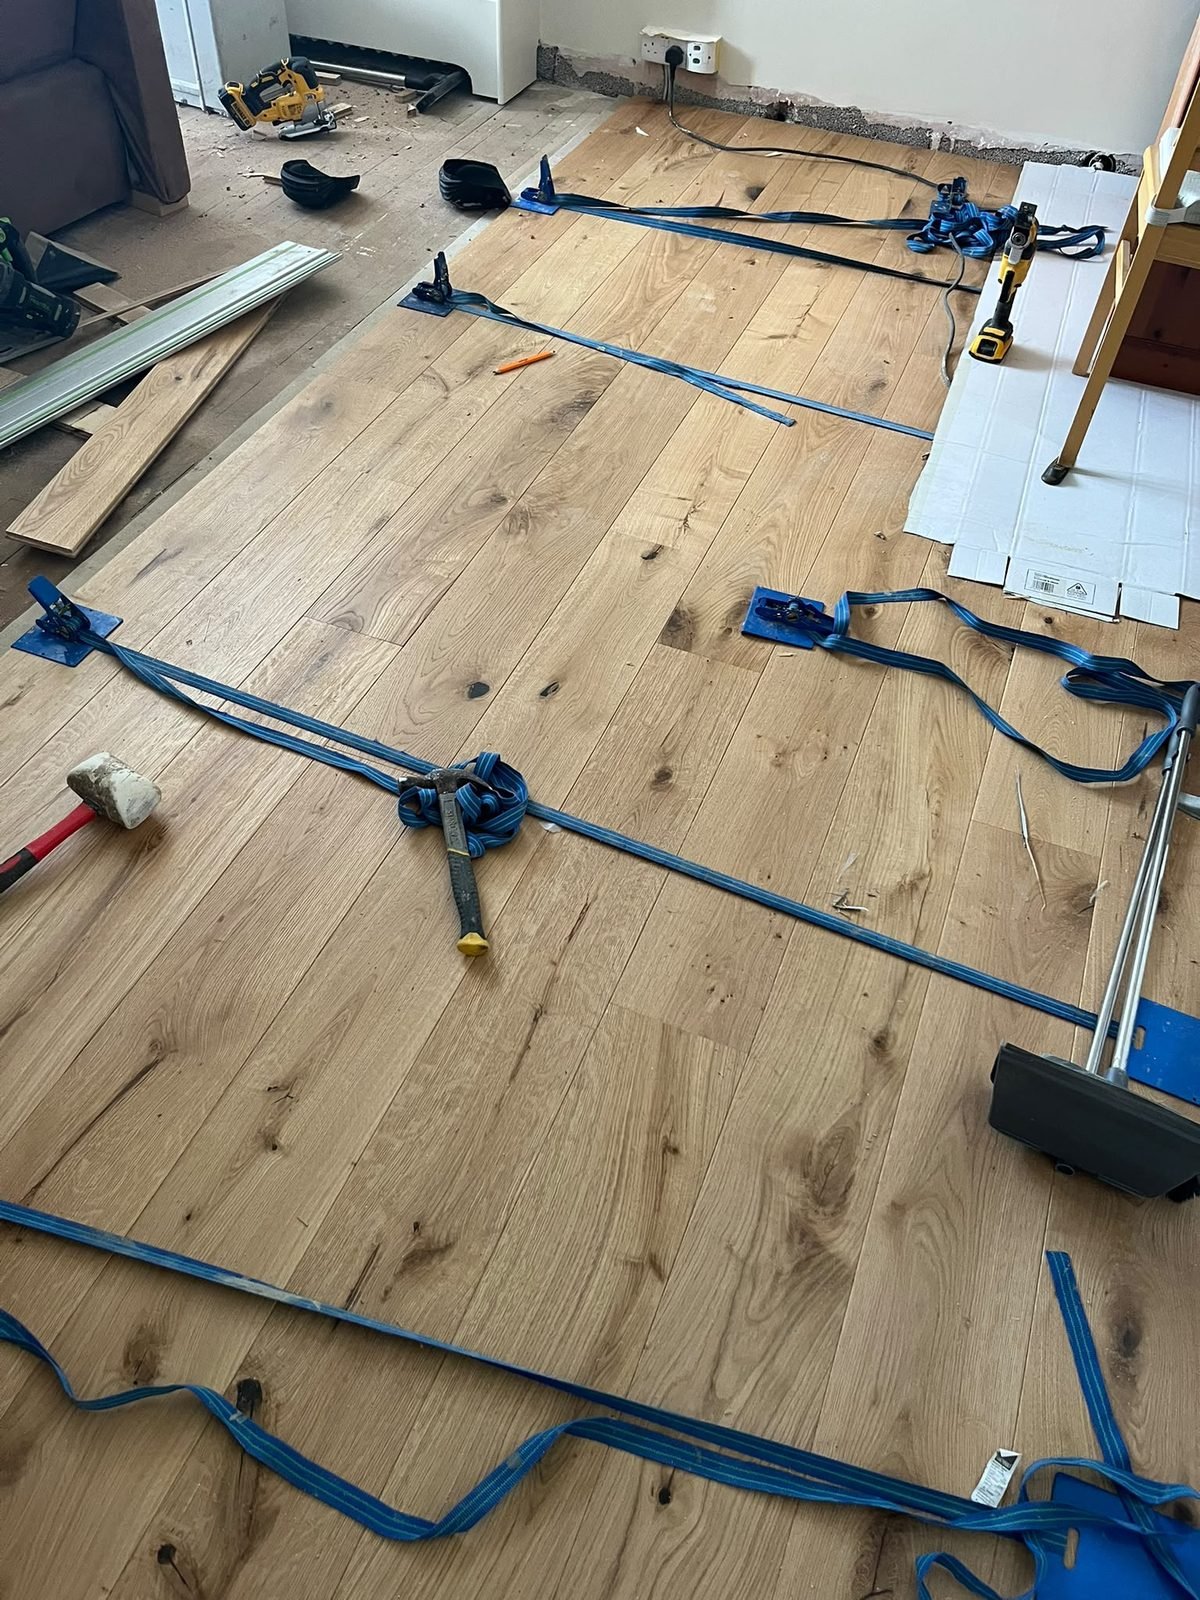
Moisture tested, levelled and prepared before anything is laid, and the boards acclimatised in the room for five to seven days. Most floor problems that appear a year later started here.
Brands we work with
We use finishes and materials from established manufacturers, chosen because they last — not because they are cheapest.






Get a free quote
Send a photo of your floor to info@epic-floors.com or call 07344 467352. Monday to Saturday, 8am to 6pm, across London and Kent.